
How to Zero a Rifle Scope: 3 Easy Steps for Accurate Shooting
Master the Basics of Scope Zeroing, Bullet Drop, and Turret Adjustment—No Experience Required
Zeroing your rifle scope ensures that your point of aim (POA) matches your point of impact (POI) at a chosen distance. This is essential for accurate shooting, whether at the range or in the field.
Before we get into the practical three-step method, it’s important to understand some key concepts: bullet trajectory, bullet drop, and scope adjustment units.
💡Understanding Bullet Trajectory

There are three main types of trajectories: flat, arched, and curved.
-
Flat trajectory only occurs at very short ranges.
-
Curved trajectory can result from strong environmental factors like wind or altitude.
-
The most common is the arched trajectory — the bullet rises slightly, peaks, and then drops.
Factors affecting trajectory include:
-
Temperature, humidity, wind
-
Bullet weight, shape, and design
-
Muzzle velocity and shooting angle
For beginners, just remember: the bullet travels in an arc, and your job is to make sure your point of aim matches your point of impact at your chosen zero distance.

🔍What Is Bullet Drop?
If you zero your rifle at 200 yards, the bullet’s impact at 50 yards might be similar to 300 yards, but at 100 yards it may hit slightly higher because it’s still near its peak.

Bullet drop is the vertical distance between your POA and POI at a given range. The farther the bullet travels, the more gravity pulls it down.
To hit your target accurately at different distances, you need to compensate for bullet drop by adjusting your scope’s turret — either clockwise (down) or counterclockwise (up).
This concept is central to achieving accurate long-range shooting and should be well understood before adjusting your rifle scope.

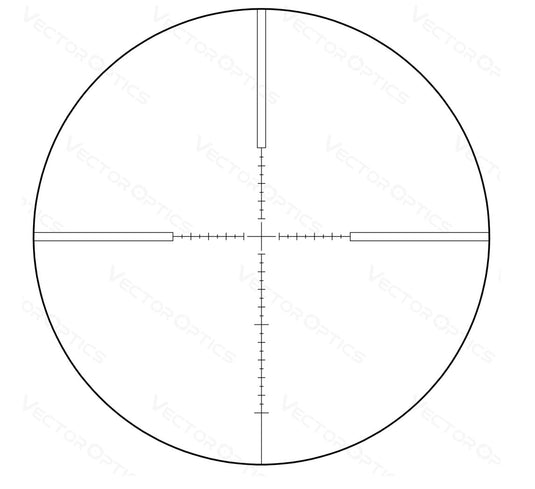
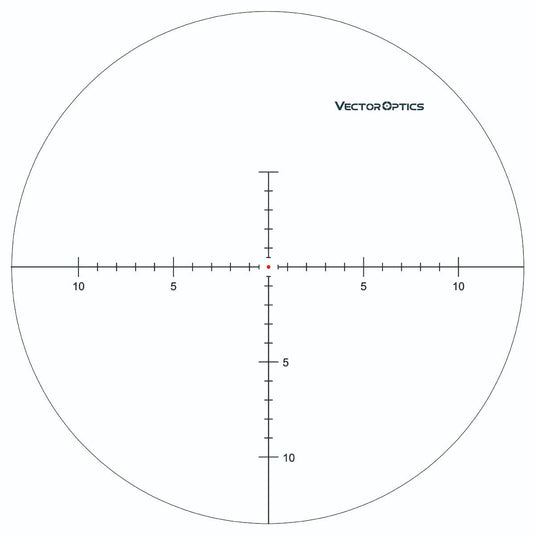
📐MOA and MIL Adjustment Systems
There are two common adjustment units for scopes:
-
MOA (Minute of Angle): 1 MOA ≈ 1 inch at 100 yards. Common click values are 1/4 MOA or 1/8 MOA.
-
MIL (Milliradian): 1/10 MIL ≈ 1 cm at 100 meters. Most MIL scopes adjust in 0.1 MIL clicks
Conversion tips:
-
1 yard = 0.9144 m
-
1 inch = 2.54 cm
The farther the target, the larger the real-world value of each click.
📘Reading a Ballistic Table
Most ammunition boxes include a ballistic table showing bullet trajectory at various distances.
-
A value of 0 in the table indicates the zeroing distance.
-
Positive numbers mean the POI is above POA (bullet is still rising).
-
Negative numbers mean the POI is below POA (bullet is dropping).
Example (.338 caliber):

-
Zero at 200 yards (0 drop in table)
-
At 100 yards: drop = +1.8 inches (POI is higher than zero point. That means you need to move your point of impact downward by 1.8 inch at 100 yards. )
-
At 300 yards: drop = –7.8 inches (POI is lower than zero point. That means you need to move your point of impact upward by 7.8 Inch at 300 yards. )
💥 How to Zero Your Scope: The 3-Step Method
✅ Step One: Find Bullet Drop Compensation from the Ballistic Table
Identify your target distance and check the ballistic table (usually found on your ammo box or manufacturer’s site) to find the bullet drop at that distance.
Example: If you’re using a .308 round and shooting at 300 yards, the ballistic table may show a drop of -7.8 inches.
This value tells you how far below your point of aim the bullet will hit.
This is where using a ballistic calculator or a scope zeroing chart can greatly improve your results.
✅ Step Two: Calculate the Required Scope Adjustments
Use your scope’s click value and the known bullet drop to calculate how many clicks you need to make. Convert Bullet Drop into Clicks. This is a core step when learning how to sight in a scope or zero a rifle optic.
Example:
For instance, according to the ballistic table, you need to compensate 1.8 inch at 100 yards and the click value of the scope is 1/4 MOA.
Times of the Clicks = Bullet Drop Compensation / Click Value
Times of the Clicks = 1.8 Inch at 100 yards / 1/4 MOA (Inch) = 7.2 ≈ 7
Then you will need to adjust the turret 7 times.
✅ Step Three: Apply the Clicks (Adjust the Turret)
Now apply the calculated number of clicks to your scope’s elevation turret:
-
If the bullet is hitting below the point of aim → you need to raise the point of impact → turn the turret counterclockwise.
-
If the bullet is hitting above the point of aim → you need to lower the point of impact → turn the turret clockwise.
Fire a test group to confirm. Fine-tune as needed. This process applies whether you’re using a red dot sight, LPVO, or high-powered rifle scope. Proper turret adjustment is key to consistent scope zeroing.
🎯More Practices!

📌Example 1: .308 bullet at 100 yards using 1/8 MOA clicks
Step One: Check the ballistic table; at 100 yards the bullet drop is 2.1 inches, which equals 2.1 MOA.
Step Two: 2.1 MOA ÷ 1/8 MOA = 16.8 ≈ 17 clicks.
Step Three: Turn turret counterclockwise 17 clicks or adjust 2 MOA plus one more 1/8 MOA click based on your zero point.

📌Example 2: .223 bullet at 200 yards using 1/8 MOA clicks
Step One: From the ballistic table the drop is 3.3 inches at 200 yards, equal to 3.3 MOA. Divide by 2 to get 1.65 MOA.
Step Two: 1.65 MOA ÷ 1/8 MOA = 13.2 ≈ 13 clicks.
Step Three: Adjust 1.5 MOA (13 clicks).
🧭Bonus: How to Convert Between Units
If your scope is MIL but your chart is in inches/yards:
-
1 inch = 2.54 cm
-
100 yards = 91.44 m
-
Convert drop to centimeters, then:
1 cm = 0.1 MIL → Total MIL = Drop in cm ÷ 10
This is especially useful when zeroing a scope for long-range shooting or hunting rifles. Use these conversions with a reliable ballistics app or scope zero calculator for best results.
Final Thoughts
Zeroing your scope doesn’t require complex math—just a clear method:
✅ Choose your distance
✅ Calculate bullet drop
✅ Make accurate turret adjustments
Practice regularly, account for environmental factors, and soon you’ll be hitting targets with precision every time.
Need a more in-depth guide? Check out our other posts on "Do you know how to 'set zero of a scope'?"
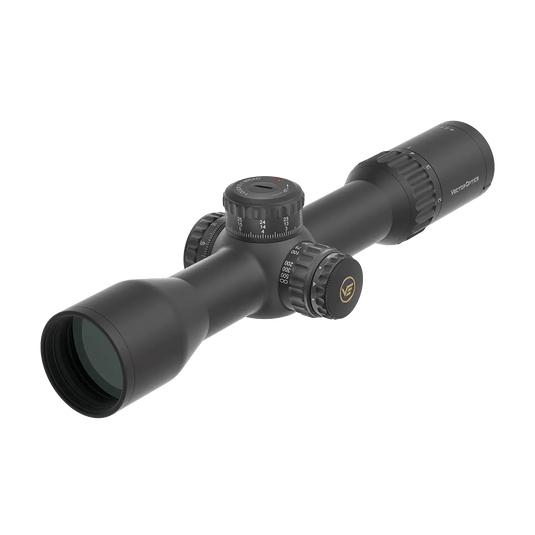
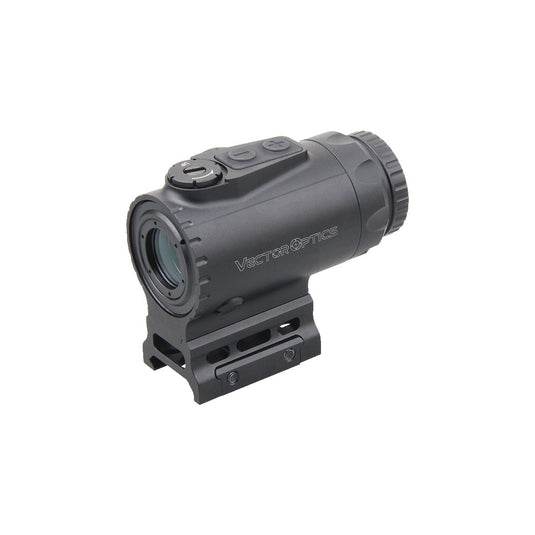
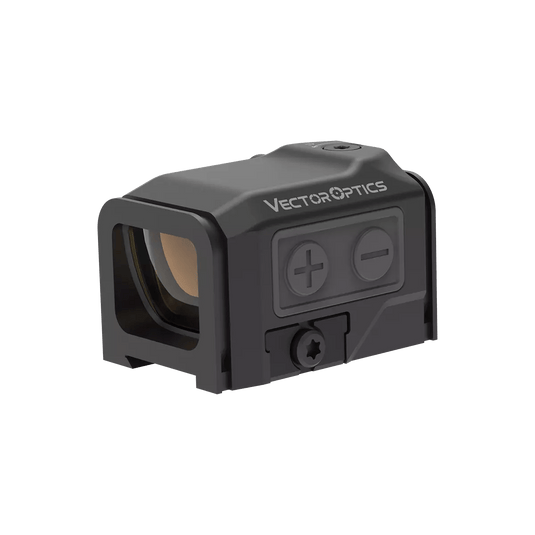
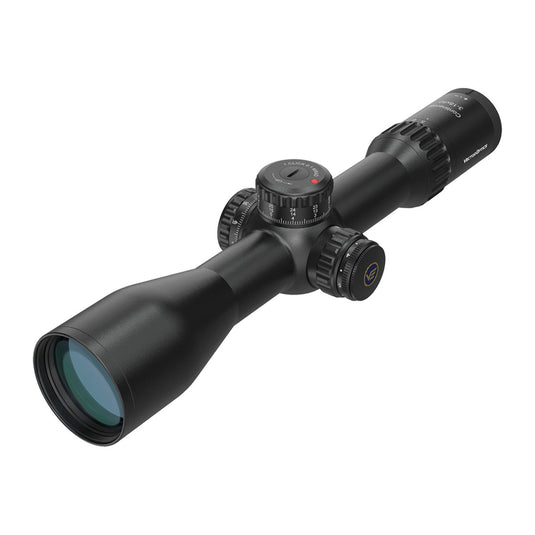
Best Sellers